Saturday, 15 March 2014

Chocolate Nutty Brownie

It has been a while since I baked brownie. There are lots of leftover nuts in the pantry so I thought I need to use it before it get too old. Right after breakfast, I took out all the ingredients and start baking as I plan to clean the window today since it is not raining. But the wind is quite strong today so yes..I was freezing cold while cleaning the window. Nevertheless, I manage to clean all of it & now my window is crystal clear!

Anyway, I am not going to talk about window here but my brownie! Hehhe….So..you need..NUTS..I used hazelnut, almond and cashew nuts. And adding a little bit of almond flakes. I do not measure how much nuts I put inside the mixture..just according to my desire. :)

Then you need chocolate (I used entirely dark chocolate). If you do not have any chocolate bar, dark chocolate chips or button will do..just like what I have here.

 Then, some white chocolate (chopped) or you can used white chocolate chips.

 Flour and salt...

Sugar & eggs….

And butter..

First, melt the butter in a small pot under a slow heat..


Then add in the dark chocolate …


Continue on stirring the mixture until there is no more chunky chocolate & all is melted..


In another mixing bowl..beat the eggs and sugar in a mixing bowl…


...then add vanilla extract..Beat until all are mix well.


Skipped the hand mixer & used a spatula to mix the flour & salt into the egg & sugar mixture..


 Then add the chocolate mixer & continue on mixing until it look like this..


 Next, add the chopped nuts..


And finally the almond flakes..


So, when the batter is ready..take out the brownie tray. I saw this tray in one of the kitchenette store somewhere last year & since it was on sale..I told myself..why not..hahah..well, of course you do not need to bake brownie using this tray as any baking tray will do. What I like about this brownie tray is that it already come with a cutter of its own. :)


Line the tray with baking paper & pour the brownie mixture..


Then take the cutter/divider (you can called it either or whatever you like..hehehe)..


And place it inside the tray that contain the brownie mixture..


Bake the brownie in a 200C temperature for 20 minutes, and your kitchen will smell of baked chocolate..yummy! Remember to pre-heat the oven at 150C. Only when you start baking the brownie that you increase the temperature. This allow the oven temperature to increase gradually. I found that cake bake better when you do this.

So, now you have your brownies..

I love using this brownie tray because it easy to take the brownie out from the tray & I don't need to cut it into squares. Enjoy your chocolate nutty brownie!


Ingredients:
  • 200gm butter
  • 200gm dark chocolate
  • 125gm flour
  • 200gm sugar
  • 3 eggs
  • 1/2 tsp salt
  • 1 tsp vanilla extract
  • 100gm white chocolate chips
  • nuts of your choice
  • almond flakes (optional)
ENJOY!

Thursday, 13 March 2014

Very moist lemon pound cake

I have two lemons in the fridge & I do not want it to be wasted away so what else to do…let's bake a lemon cake! I love the sweet & sour taste of the cake and the smell of lemon baking in the oven. It is very aromatic! Furthermore, it is easy to bake..no hassle..no 'weird' ingredients so anyone can do it and it is very tasty!

First, prepare the lemon zest. Normally in any recipe, it used 1-2tsp of lemon zest but I normally will not follow. Hahha..I will use as much lemon zest as I like because it not only give you the lemony taste but lemony smell as well. For this cake today, I grated 2 lemon & used all the zest I have here…

Then the two lemon is slice & extract the juice. You will need it later.
Then in a mixing bowl, beat sugar, butter and oil together. 


When the mixture is pale yellow in color, add the egg one at a time. Next, add the flour….


 & milk….


 ….into the mixture alternatively (flour-milk-flour-milk-flour). Remember, start with adding the flour & ending with the flour. 
Then add the lemon juice that we extract just now into the mixture. And finally, we add in the lemon zest!

Mix all together and pour into a rectangular cake tray. I do not know why but whenever I bake lemon cake, I always use the rectangular tray…hehe


Bake the cake for 45 minutes to 1hour in a 170C temperature. Make sure the cake is well bake by inserting a toothpick or chopstick into the cake. If there is no residue on the stick, that mean the cake is bake!


You can either drizzle it with icing sugar or let it be plain like this. I prefer to eat it just as it is! Hubby said..it taste like what his grandma always did. Bangga2!!

Ingredients:

  • 1 cup of butter, soften
  • 1/4 cup of vegetable oil
  • 21/2 cup of sugar
  • 5 eggs 
  • 3 all purpose flour
  • 1 cup of milk
  • 3 tsp of lemon juice
  • 2 lemon (for lemon zest)
Here's my piece..opss..ada yang dah hilang …masuk dalam perut. huhuh…


Monday, 10 March 2014

Flyer Nightmare

I assume we all have heard it. The devastating new of the missing Malaysian Airlines flight MH370 and until today, no one know what actually happen that lead to the disappearing of the flight. And most important of all, what could be the fate of all the passengers and crew members. There are so many speculations that has been published on the media on what could possibly go wrong or could happen. But I do not want to make any speculation here. Let it be just between me & those I know as a respect to the family members of all passengers and crews on board.

As a person who travel frequently, I depend on flight very much in order to fulfil my quest to see the world or just to be with my love one. At one point, I travel so often that I can actually say that I am literally living on a suitcase! It's like I am unpacking my luggage to repacking it again for my next journey. Yeah..it sound very exciting but you will reach a point where you get so tired of all the travelling, the packing, immigration and custom checking points. Air plane has become my main mode of transportation at one point and still am today. Therefore, when incident like this happen, it create an anxiety within me because at the back of my mind…I was thinking…s*** it could be me.

At this moment of time, my sympathy goes to the family of all the cabin crews and the passengers on board the flight. Not knowing what happen to their love one and whether they can see each other again, is a feeling of unrest. The uncertainty of the outcome of the incident can lead to anger, stress and tension for these family members as they are worry and sad at the same time. And all these media speculations on what can possibly happen to the flight does not really help to put their worry at ease. Well, I do understand that everyone is entitled to their opinions on what could go wrong on that fateful day but I just hope we do have a little bit of courtesy especially to the family members, and try to minimise our unintellectual, idiotic and insensitive speculations to ourselves or our circle of friends (just like what I did). There is no need to publicised it online!

And I do not think it is fair for us to criticised the SAR effort that has been going on to locate the missing flight. I believe every single organisation/countries is putting everything they got to locate the plane and just because it has been three days since the flight is reported missing and yet not even one piece of evidence showing that they manage to locate the missing flight, that does not mean that they do not try their very best. Do take into consideration that they also have no idea where the flight could be. What we all can do is …hope for the best & prepared for the worst for people on board MH370.

Friday, 7 March 2014

Checkerboard cake

Last night I was watching Jr Masterchef on tv and because of that, I suddenly feel the urge to bake something for the weekend. Thinking cap is on! At first, I was thinking of baking a molten lava cake but I will prefer to eat a hot molten lava cake, and you can't really keep it overnight or for a few days. Molten lava cake is meant to be eaten instantly. Soo…what shall I bake???? Aha!! Checkerboard cake! I did bake this cake previously for my sister's birthday. At that time, I just received my checkerboard cake tray from my other sister in the US & am so excited to try it.

You can do checkerboard cake without the tray but it will mean, you end up wasting quite an amount of cake! I got my tray from Wilton. Yes.. they have so many type of baking tray & baking accessories. If I have the chance to visit them one day, I think I will feel like a child in a HUGE CANDY factory. 

Ok. Let us bake a cake! Take out a mixing bowl and add flour, salt, baking powder & baking soda together, and set aside.


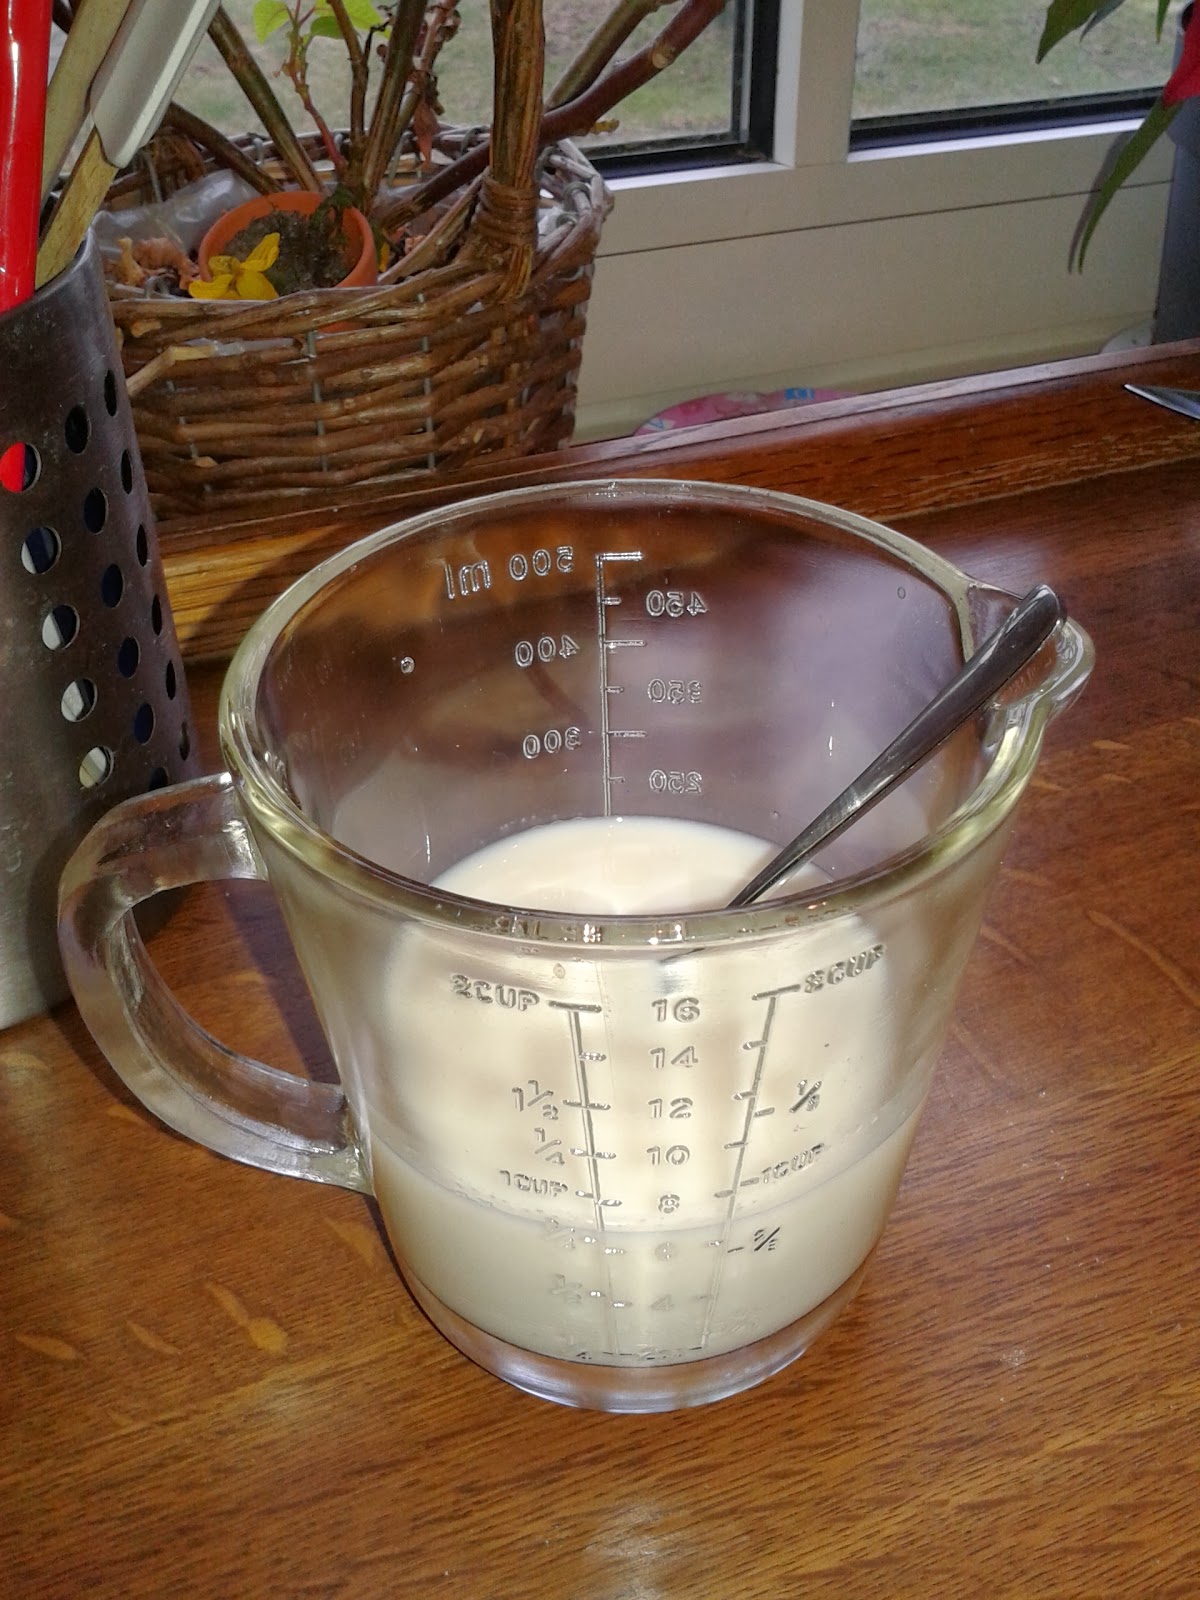
In a measuring cup, mix the milk and vanilla extract.


In another mixing bowl, add sugar, eggs and vegetable oil (the oil is the one in the pink measuring cup). First, you need to mix the sugar & egg then you add the vegetable oil. 


Ok..by right you add one egg at a time but I want to save time so I just add all three eggs in the mixing bowl together with the sugar. Hehehhe..as usual, I used both the brown & white sugar.

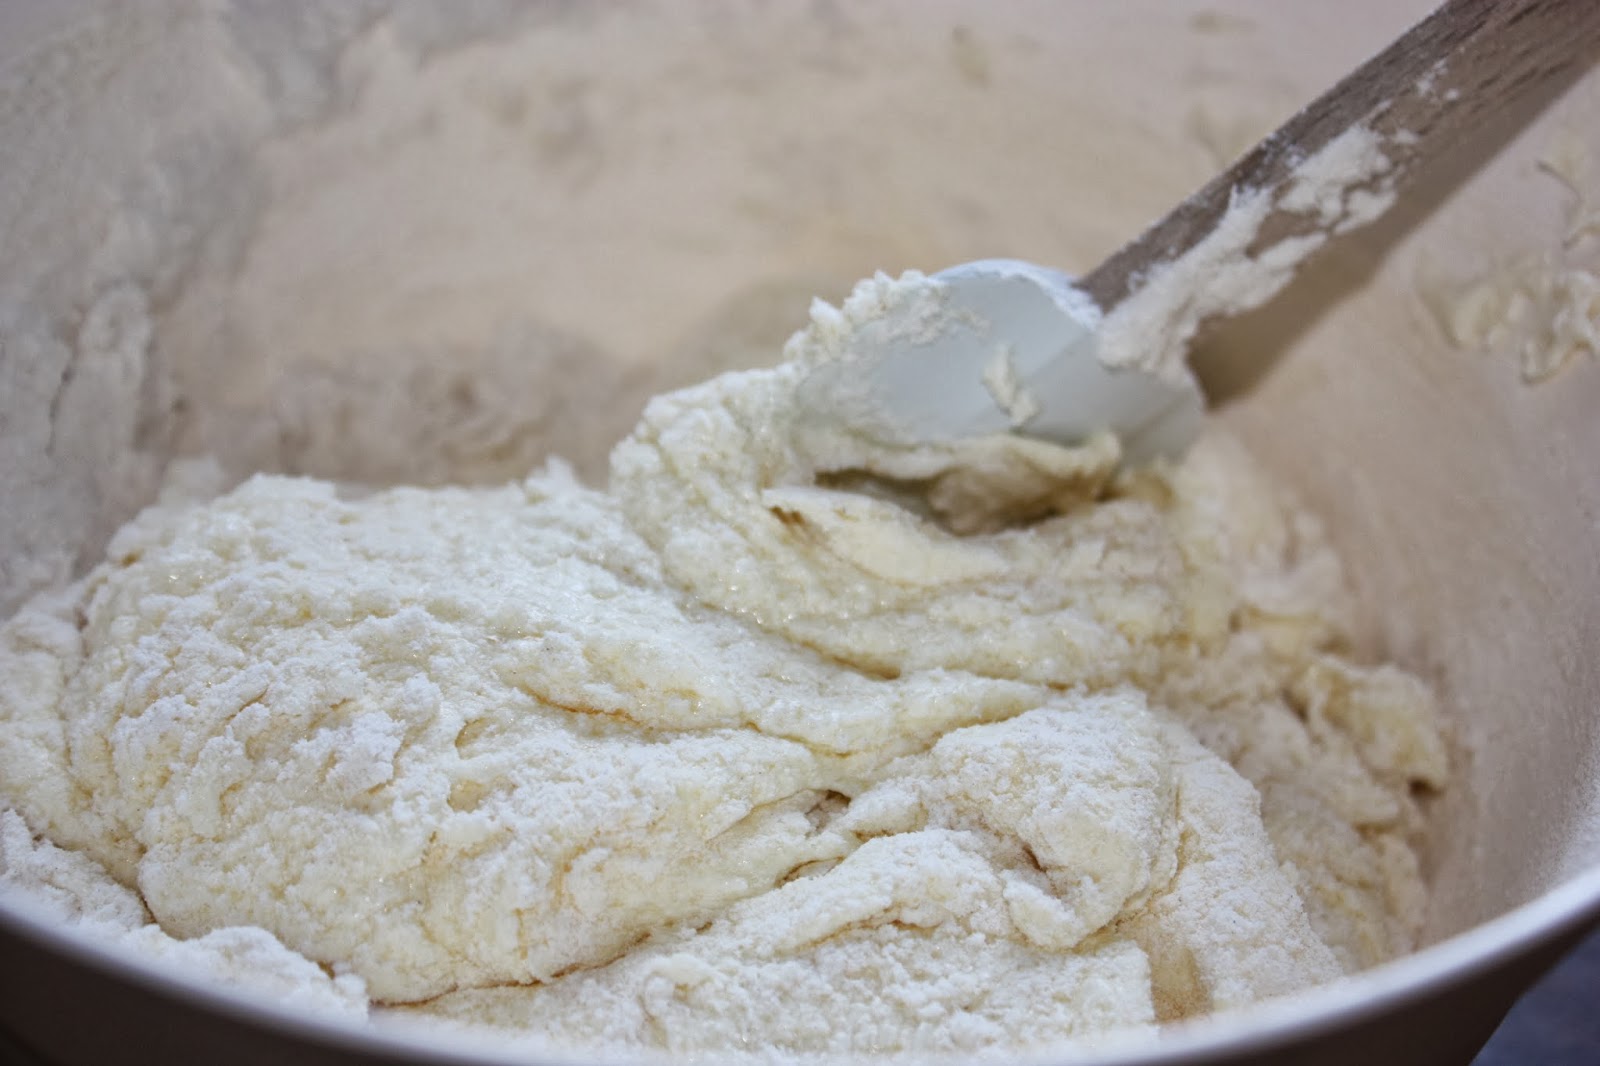
Once the wet ingredients are already mix together, using a spatula, carefully mix the flour mixture into the wet mixture and alternating it with the milk mixture. You start with the flour and end with the flour. So, you get a brownish mixture like this…


FYI, if you are just using white sugar, obviously your mixture won't be brownish like this. It be more yellowish. Next, divide the mixture into two separate bowl. 

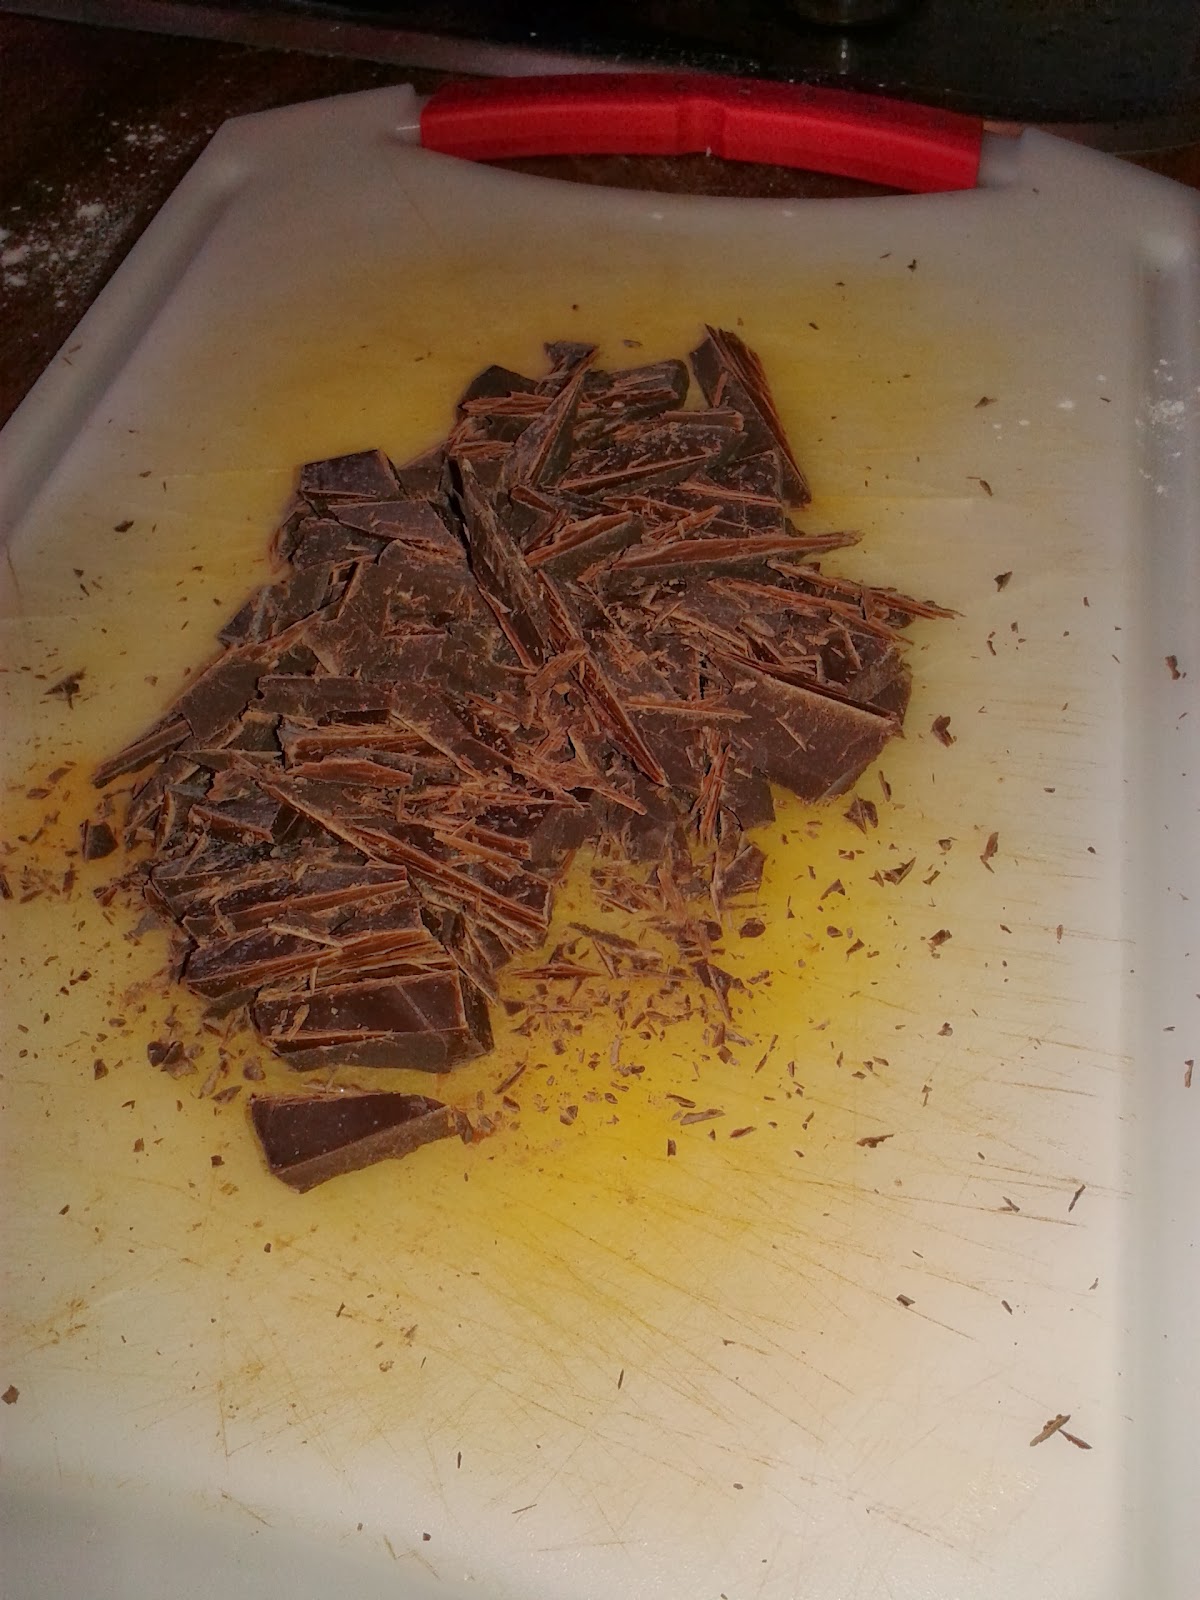
Then chopped some baking chocolate..


…and put it inside a microwave for 2 minutes. Add the melted chocolate and 1 tbsp of milk to one of the bowl with the cake mixture. And you get this….


Then, take out the checkerboard tray..and the white divider is the one that will create the checker effect when you cut it later on. Oh ya..FYI..the divider is not sticking with the tray ya..once you pour the mixture inside the tray, you remove it and use it on another tray.


OK. Here is the tricky part. In order to make thing easy for me, I place each of the mixture in a measuring cup or you can use a disposable piping bag. Or you can used a heavy duty zip tight plastic bag with corner cut to make 1/2 inch opening. Then pipe the mixture into the tray. For this, you really need to be good in estimating how much you need to pipe in each cake tray in order to make sure, you have enough cake batter. You do not need to pipe too much on each layer because the cake will rise up once it start baking in the oven. 

Difficult for me to explain the pattern but I guess by showing you this picture, you will have an idea which batter go where…

So, you much have two vanilla and one chocolate batter on the outer layer (you will place it in this sequence; vanilla outer layer at the bottom, chocolate outer layer in the middle and another vanilla outer layer at the top) 

PLaced all the baking tray inside the oven & bake for 20 minute in a 175C temperature. Once it bake, take out the cake and let it cool down for few minutes...


 ….before you start stacking it on top of each other. Cut of the top of each cake to make the cake look nice & even! I am using chocolate buttercream as both the filling & frosting. To make the this all you need is butter, cocoa powder, icing sugar, vanilla extract and milk or heavy cream. 

Here it is….

And when you cut it…

Ok..I haven't master the skill to make the square nice and even..yet... but this will do for now..hehehe..And apparently this recipe is more moist and soft than the previous one I made. I believe it's because of the vegetable oil :)

Cake ingredients;
  • 21/4 cup of flour
  • 2 tsp baking power
  • 1 tsp baking soda
  • 1/2 tsp salt
  • 3/4 cup of milk (for the cake)
  • 1 tbsp of milk (add with the melting chocolate)
  • 11/2 tsp of vanilla extract
  • 11/2 cup of sugar
  • 11/2 stick of butter, soften (1stick of butter=125 gm) If you using vegetable oil, you just need 1 cup of oil. 
  • 3 large eggs
  • 3 ounce of dark chocolate (1 ounce = 28gm)
Chocolate buttercream:
  • 2 cup of icing sugar
  • 1 cup of butter
  • 1/2 cup of cocoa powder
  • 2 tsp of vanilla extract
  • 4 tbsp of milk/heavy cream

Tuesday, 4 March 2014

Fresh Vietnamese Spring Roll

Finally, I get to do it. I have bought the rice paper since before Christmas last year and I am yet to use it until today. Actually I tried making it once long time ago but I guess my skill was not good enough at that time, and it end up in the garbage bin! Hahah..

So, with burning spirit..chewahh…hahah..I took my rice paper & decided that today appetizer will be Vietnamese spring roll. I like it raw & hubby like it fried so I did both. But FYI, if you are going to deep fried it, better make it double layer because the rice paper is very thin as compare to the normal popiah roll. So, if you only do one layer..mmg koyak abis. And it is not a good idea to fry it using vegetable oil!! Hahaha..but since palm oil and peanut oil is not easy to find here, so I have no choice but to use vegetable oil. And it's not even deep fried ..I think more like a pan fried spring roll. Hahah..as I don't like to use too much of oil.

Anyway..have your rice paper ready..


Found this at one of the Vietnamese store here…and this is how it look like for those who are curious..

I have been to Vietnam a couple of time, both for work & leisure. If you go out of the city centre, you will get to see lots of houses drying their rice paper just in front of their yard. It is either for sell or for their own consumption. The first time I ever ate this during my first trip to Vietnam, I feel a little bit weird but at the same time, telling myself…'no wonder dia orang ni kurus2. Makan nasi pun cam ni!!'..hahah..And I am not bluffing you guys because you can walk all over Vietnam and you can count with both your hand how many fat people you see!! My Vietnamese colleague even told me that..if I walk around town, they know I am not local because I am not thin!!! Muahahah…sedih nyerrr!!!

Ok. Let's go back to our recipe eh. So, you take one piece of rice paper and deep inside a pan of water. Making sure all the paper wet evenly & leave it for a few second until it really feel & look like thin film. 
 Then take it out and spread it out on top of a wet towel…can you see it?? Barely right?? Because the paper is very thin & transparent when it is wet. It is very important to wet the towel because if it is dry, the rice paper will get very sticky.

And we have the filling here..

My filling are mainly vegetable (carrot, cucumber and lettuce) and small shrimp. Basically, you can use any kind of filling according to your preference. That is the beauty of making it on your own because you can choose what you like. So, fill up your chosen filling on top of the wet rice paper that you spread on top of the wet towel…like this..


Don't overdoing it. If not you have problem rolling it later own. Once everything is there, start rolling it & making sure you folded both end on the side too ok. But for some, they leave one end open pun ok. So, mana2 la kan. For me, I prefer roll it all just like you roll your popiah (bagi yang pernah buat la kan)..heheh..

And there you go. You can have your Vietnamese spring roll..coming out direct from your own kitchen. You can use anything for the dipping..terpulang to your selera. But normally, the dipping sauce consists fish sauce, small chillies, soy sauce, lime and sugar. Marvellous!!

Enjoy!!

Monday, 3 March 2014

Kiksekage

I baked this cake last year in my attempt to learn Danish baking. I have to admit, the Danes really know how to bake very good pastry and believe me when I say that whatever so called Danish pastry you can find in Malaysia…it's all a lie. It is not even close to any pastry you can get here. Well, I don't blame you because I was 'cheated' also before I have the chance to come here. Although there won't be any fatty food like nasi lemak..mee bandung..banana leaves rice..mee goreng mamak etc to make me fat but there is lots of good pastries to replace those foods that can make me as fat as I can be!!! Hahahha…

Anyway, this particular cake is called Kiksekage (Kikse is the name of the biscuit that is used together in this cake, and Kage is cake in Danish). Now,if you look properly, this cake might remind you of one particular cake we have back home. Yes..if you think about kek batik..you're right! I never bake kek batik before so I can't really say whether the method to do this cake is similar to kek batik or not. But it do look alike. :)

For this cake you need butter, dark baking chocolate, icing sugar, egg yolk & square shape biscuit (for the biscuit you can used any brand. The common one is Marie biscuit but try to get it in square shape so it will be easier for you to arrange the biscuit later on. I can't find a square shape so I end up using a round one. As you can see, the biscuit layer is not smooth & even).

First, you need to melt the butter in a pan on a medium heat. Then add the chopped baking chocolate together with the melted butter. Next, combine the icing sugar & egg yolk in the chocolate mixture while it is still warm. Stir for a few minutes until all is mix well. Removed the mixture from the heat.

Before you start pouring the chocolate mixture into the cake tray ( I used a rectangular shaped cake tray), placed a plastic film (string wrap) at the bottom of the tray. Making sure that you have ample of plastic film on each side so it be easier for you to take the cake out for serving.

Then start pouring the chocolate mixer gradually, alternating it with the square biscuit. Placed the square biscuit properly on top of the chocolate mixture. So, basically susunan kek tu will be choc-biscuit-choc-biscuit …etc. Making sure that the top layer is the chocolate mixture. Cover the cake and refrigerated overnight.

The cake is very 'fragile' and easy to crumble especially if you trying to cut it directly after you take it out from the fridge. Leave it on the kitchen top for 1/2 hrs before you start cutting to get a smooth shape. 


Ingredients:

  • 150g butter
  • 300g dark baking chocolate
  • 50g icing sugar
  • 2 egg yolks
  • approx. 125g square biscuit/Marie biscuit