Showing posts with label cake. Show all posts

Sunday, 15 November 2015

Steam Chocolate Cake

Well, the pie didn't last that long. It took us just two days to finish it off. :)

So, I was thinking....chocolate cake! Hehehe...but I want to bake a steam chocolate cake. It will be one damn moist cake. Plus..who don't love chocolate cake huh? It has been a while since I do one so here goes.

Mixture A;

- 1 cup of brown sugar
- 1 cup of cocoa powder
- 1 cup of vegetable oil
- 1 cup of hot water
- 1 cup of condensed milk
- 1/2 cup of milo ( Thank God I brought a HUGE pack of milo from KL when I came here)
- 1 tsp of coffee
- 3 eggs
- 1 tsp of vanilla extract

Mixture B;

- 2 cup of flour
- 1 tsp of bicarbonate soda
- 1 tsp of baking powder

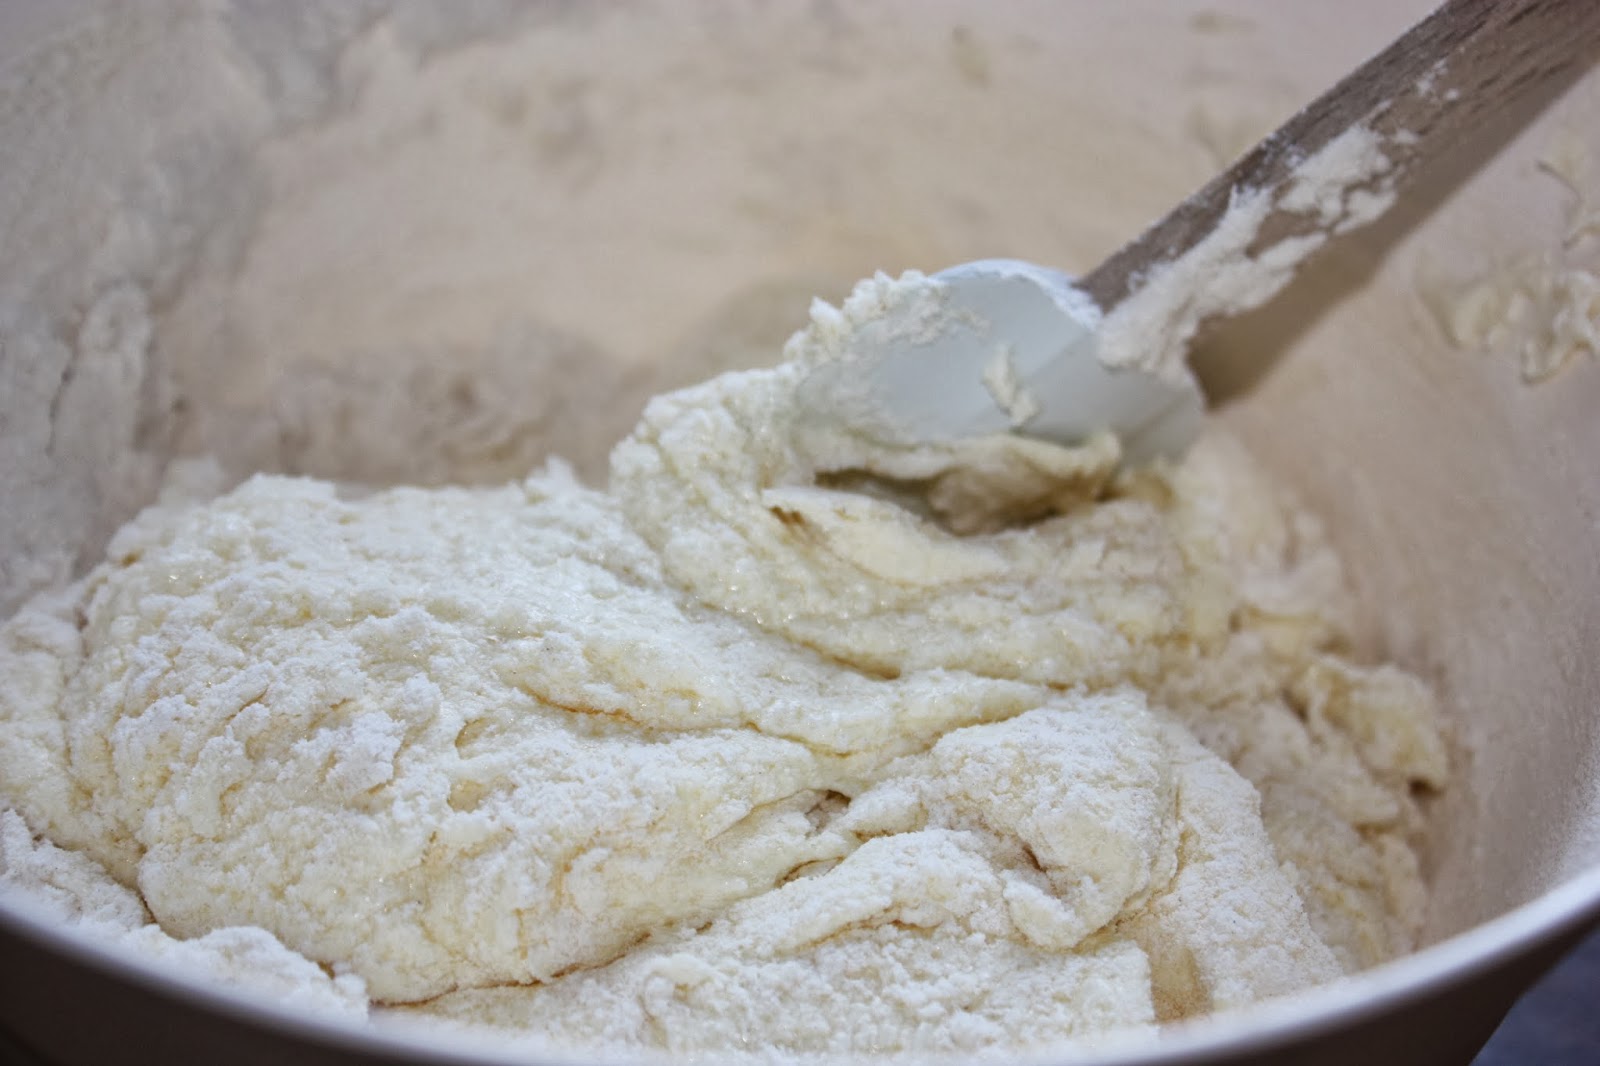
1. Mix all the wet ingredients (A) in a mixing bowl. And the dry ingredients (B) in a different mixing bowl. 

2. Add the dry ingredients into the wet ingredients and mix well. 

3. Pour the batter in a cake pan & steam for 1 hr. 

How simple is that! The cake is not sweet, believe me on that. It has this bitter chocolaty taste, which I love very much. If you want to add a little bit of sweetness..add some topping. If you prefer not to..well, the choice is yours. 

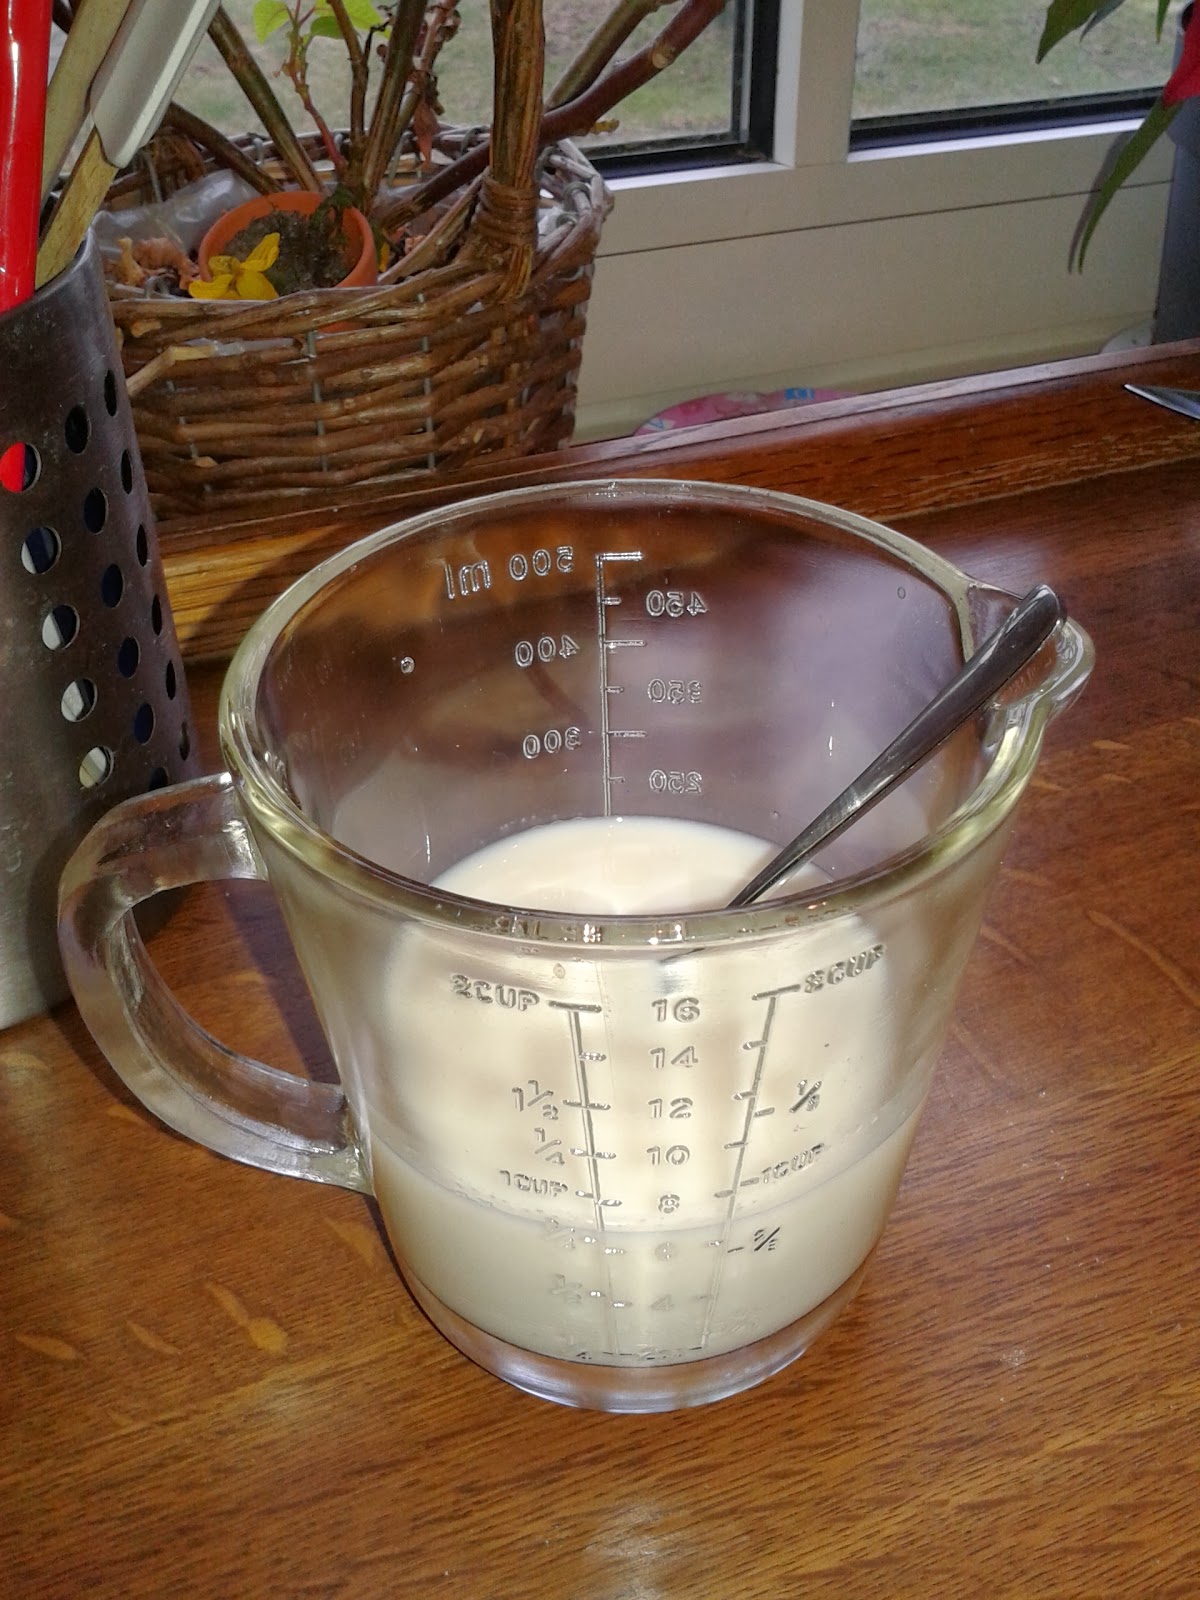
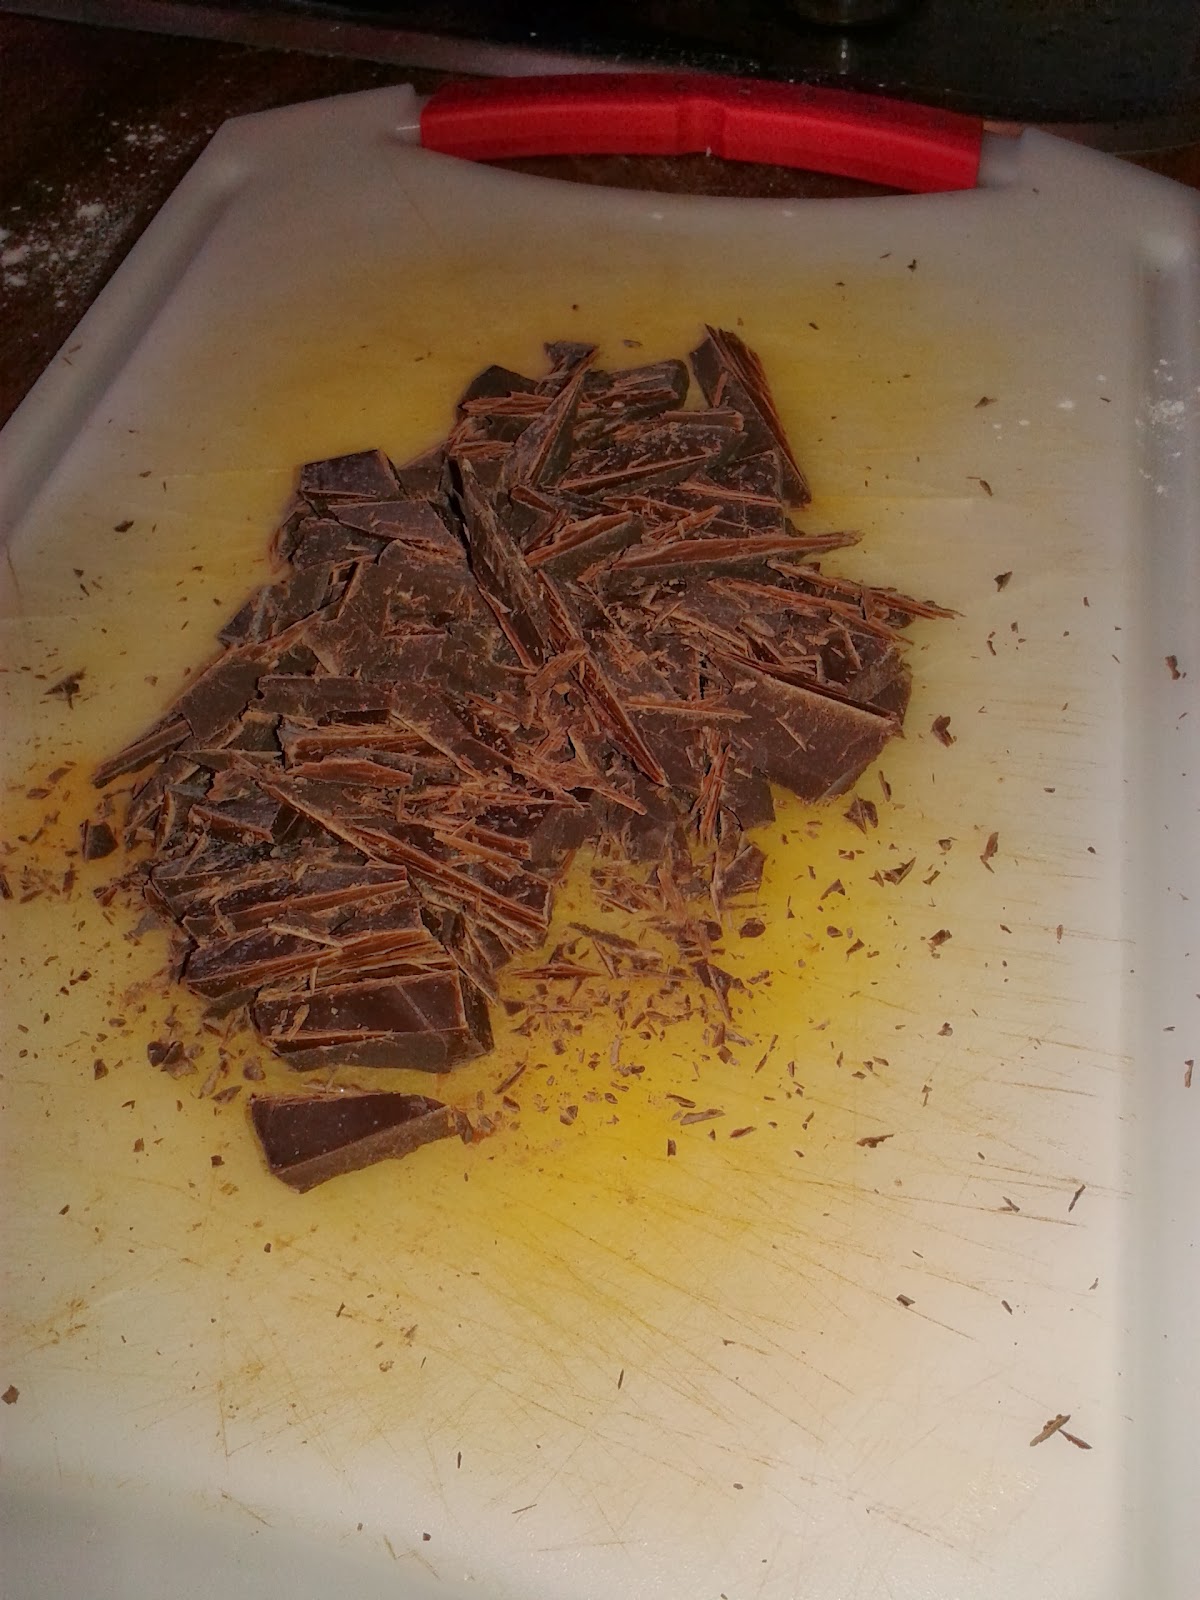
My topping is very simple. I just heat some cream on a pan over a medium heat. Once it simmer, add the cream to a bowl of chocolate chips or button. Mix well until all the chocolate melted. Cool it off for 5-10minutes. Then pour it on top of the cake. Finish it off with some cake sprinkle.


Look at that chocolate flow...:)


Enjoy the cake!


Wednesday, 4 November 2015

Orange pound cake

One day..I was craving for orange or lemon cake. So, that evening I head off to the supermarket & buy some oranges. I normally bake lemon poppy seed cake but this time, I guess I go with orange.:)

But sorry yeah...no picture. Too busy getting the cake done & entertaining the lil' one who is constantly on my feet or rummaging stuffs in my kitchen cabinet!! Here's the ingredients;

- 2 stick unsalted butter (226 gm)
- 2 cups of granulated sugar
- 4 eggs
- 1/3 cup of grated orange zest ( u need around 6 oranges)
- 3 cups of flour
- 1/2 tsp of baking powder
- 1/2 tsp of baking soda
- 1 tsp of salt
- 1/2 cup of freshly squeeze orange juice
- 3/4 cup of creme fraiche
- 1 tsp of vanilla extract

1. Cream the butter with sugar together until light & fluffy. Then add the egg one at a time. Add the orange zest.

2. In another bowl,sift the flour with baking powder, baking soda and salt.In a different bowl, combine the orange juice,creme fraiche and vanilla. Add the flour and creme fraiche mixture into the batter alternately. Beginning with the flour and end with flour. Divide the batter evenly into two pans ( If you only use one load pan, divide the ingredients into half ok..)

3. Bake the cake in a 185C for 45 min to 1 hr. Let the cake cool for 10 minutes and there you goes...u have your orange cake! 

Enjoy it with a hot cup of coffee or tea. Simply marvellous! 

Monday, 5 October 2015

Banana Nutella Cake

Saw a friend of mine 'likes' this recipe one day and thought..hmm..that will be a great cake to have my afternoon tea with or a snack while watching movie. Since hubby also like banana cake ..I decided to give it a try. But I mix and match with other recipe in order to make it better. This recipe is extra moist...more banana taste...less sweet..here goes;

Ingredients:
 4 ripe bananas, mashed
6 tbsp of butter, melted
2 eggs
6 oz of creme fraiche
2 tsp of vanilla extract
2 cups of flour
1 tsp baking soda
1/2 cup of sugar
1 tsp salt
2/3 cup of nutella

1. Mashed all the banana in one bowl. Add in the melted butter and stirred to combine. Mix the eggs, creme fraiche and vanilla extract.
2. In another bowl, combine the flour, baking soda, salt and sugar. Fold in the dry ingredients into the wet.
3. Pour half of the batter into a bread pan. Melt the Nutella in a microwave for 20 second. Drizzle half the nutella over the batter, gently swirling the batter with a knife. Pour the second half of the batter on top and repeat with the remaining Nutella.
4. Bake for 60 minutes or until the knife inserted in the centre comes out clean. Allowed to cool for 15 minutes.

There you goes! Simple right...anyone can do it. And it taste damn nice! Hope you guys give it a try and enjoy the cake as much as I do.


Ps. Sorry uols..this is the only picture I manage to take and post here. :)

Saturday, 3 October 2015

Chocolate Strawberry Swiss Roll

I have wanting to do this for a very long time. My strawberry plant give me lots of fruits this year so why not do some swiss roll. Normally I just did a plain swiss roll but this time I decided to cover it with chocolate spread.


For those who want to try, here's it is;

Ingredients:

(The swiss roll)
5 large eggs, separated
1/2 cups of sugar
1/2 tsp of vanilla extract
1/2 cups of flour
1/2 tsp salt
4 tbsp of butter, melted

2 tbsp icing sugar (for dusting)

The filling:
3/4 cup of heavy cream
2 tsp of sugar
1/2 tsp of vanilla extract
Pinch of salt
1/4 cup of strawberry jam ( ready made or fresh)

The chocolate spread:
500gm of bittersweet chocolate, chopped
3/4 cup of heavy cream
1/4 cup of milk
1/4 cup of sugar
4 tbsp of butter, room temperature

Sorry that this time there will be no step by step picture because with one kid running around and in between ure feet, I have my hand full! Need to make sure he don't destroy my kitchen...or worst...hurt himself. So, one final picture will do ok. :)

1. To make the swiss roll, beat the egg yolks with 1/4 cup of the sugar and add vanilla extract. Beat until fluffy. Scrape the mixture into the bowl and fold in the flour.
2. In another bowl, whisk the eggs white with salt at medium speed. Gradually at the remaining 1/4 cup of sugar and beat until glossy. Then fold the whites into the yolks mixture and add the melted butter.
3. Spread the batter in a pan and bake for 20 minutes in a 178C temperature. Let it cool in the pan on a rack.
4. Run the blade of a knife around the edge of the cake pan. Dust the cake with icing sugar and cover with sheet of plastic wrap and a clean kitchen towel. Then place a cutting board on top before you terbalikkan the cake. That is how you take it out from the pan in order to avoid the cake koyak. Hehheh..Then slowly remove the paper.
5. In a fresh clean bowl, whip the cream, sugar, vanilla and salt to stiff peaks. First, spread the strawberry jam on the cake. Lepas tu top it with the whipped cream. Begin rolling up the cake from the long side as tightly as possible, using the kitchen towel and plastic wrap to help shape the roll. Wrap the roll tightly in the plastic and refrigerate for at least hours or overnight.
6. Now nak buat the chocolate sauce. Place the cream, milk and sugar dlm saucepan and stir under medium heat until the sugar dissolved. Put the chopped chocolate in a bowl. Pour the hot cream over the chocolate until it melted. Whisk until smooth then whisk in the butter.
7. Take the cake out from the refrigerator, place it on a rack and pour the chocolate all over the top and spread it evenly with a spatula.

And you have your chocolate strawberry swiss roll!


Tuesday, 21 April 2015

Triple Chocolate Cake

So, my niece is having her birthday last Sunday. Two weeks before her birthday I decided to bake her a cake as a birthday gift. I guess when it is a gift, you need to make it special. I remember saw similar cake online few years back & I decided that it will be the ONE. But instead of using KitKat, I opted for love letter. But I found out that if you want to use love letter, make sure you eat it as soon as you finish decorating it because it won't be as crunchy as it should be after being expose to air for few hours. 

You can replace it with KitKat of course..or sponge finger biscuit or that sour stick biscuit (no idea whether there is any special name for it). Well basically you can use anything as imagination know no boundaries. 

For the cake, I decided to do triple chocolate cake. I could see that the cake is moist and the texture is smooth. Didn't get to taste it but the tasters said the cake taste NICE!. *wink..wink* . For those who want to try, here's the recipe,

Ingredients:
1 cup of all purpose flour
1 cup of brown sugar
1/2 cup of buttermilk
1/2 cup of fresh brewed coffee (Nescafe pun bolehhh)
3/4 cup of cocoa powder
1/2 cup of vegetable oil
2 eggs
2 tsp of baking soda
1 tsp of baking powder
1 tsp of salt
1 tsp of vanilla extract

Sorry there is no step by step pic ya. X sempat nak ambik. Coz baking & layan baby at the same time. Huhhu...

First as usual, mix all the dry ingredients in a bowl (flour, brown sugar, cocoa powdeer, baking soda, baking powder and salt). Then mix all the wet ingredients in another bowl (buttermilk, vege oil, eggs and vanilla extract). Mix well using medium speed hand mixer until semua sebati. Then add the coffee. Lepas tu, add dry ingredients into the wet ingredients gradually and stirring continuously to avoid lumps. When everything has been mixed well, proceed to the next step that is to make the chocolate syrup.

You need;
2 tsp unsweetened cocoa powder
1/3 cup of sugar
1 tbsp water
1/2 cup of chopped bitter sweet chocolate or chocolate chips

Mix all the ingredients in a pan and heat for 1-2 minutes or until melts. Scooped the chocolate chunk syrup and swirl using a knife until the mixture is fully incorporated. Pour the batter in a baking tray and bake for 40minutes on 180C temperature. Once the cake is baked, cool it off before covering it with frosting. You need the frosting to stick the love letter. Kira cam gum la frosting ni. You can used any frosting tapi yang paling sesuai will be chocolate buttercream or chocolate cream cheese frosting.

The rest I must say...USED YOUR IMAGINATION! As for me...here's the results...


The top view. Hehehe...and the day after...left setengah and topping almost gone especially the M&M.


Customer verdict...SATISFACTION!

The cake is very easy to do. The decoration part might take you sometimes and it need to be done in a proper manner. Kena remain calm buat ni...baru cun!

Ok la..it's my ZZZZzzzz time. Baby dah time skrg mak baby nak tido. Nite uols!


Moist apple cake

It has been so long since I update my baking activities here. Well, I seldom get the chance to bake nowadays especially now when Karl just can't lay/sit still. And when he is asleep, I end up sleeping as well. Hahah...But last weekend my mum wanted to eat apple cake as she prefer cake that a little bit sour. So, we bought some green apple in the morning and that afternoon the cake is ready to be eaten.

The cake was super moist and not sweet at all..probably because I reduce the sugar and replaced the white sugar to brown sugar. Not as sour as my mum expect it to be but she love it. So..here's the recipe for those who want to try. The cake will be perfect for afternoon tea/coffee.

Ingredients:
* 3 cups of flour
* 1tsp of baking soda
*3 tsp ground cinnamon ( I just add 1 tsp because mom doesn't really like the smell of cinnamon)
*1/2 tsp ground nutmeg ( This is optional. I didn't add mine)
* 1/2 tsp salt
* 11/4 cup of vege oil
* 1/2 cup of greek yogurt ( or any type of yogurt. You can use sour cream too)
* 11/4 cup brown sugar
* 3 large eggs
* 1 tbsp vanilla extract
* 3 medium size green apple

Take two separate bowl. Add flour, ground cinnamon, ground nutmeg, baking soda and salt in one bowl.

Then in another bowl, you add the vege oil, yogurt and brown sugar.

Then add the eggs one by one. 

Add the dry ingredient into the wet ingredient. Mix the mixture well using a spatula.

Making sure there is no lump of flour in the mixture. I prepare to use spatula though some might want to use the electric mixture but at low speed. 

Then add the shredded apple...

 Prepare the baking tray and line it with baking sheet. Pour the cake mixture into the tray & even it up. Bake the cake in a 180C for 55 to 75min. Yeah..this cake take longer time to bake but once you taste the cake, you know that it's worth the wait. Hehhehe...


Here is the cake. Sorry, x sempat ambik gambar dah kenak cekup some of the cake. Hhehehe.

The cake remain moist even when u keep it in the fridge. Happy trying folks!


Sunday, 1 March 2015

Kek Lumut

After almost a year, taking a break from baking anything, last weekend I finally bake something. I really miss baking because I found joy and happiness in doing it, especially when you see your cake disappear in a split second into some else's stomach. I hardly get a lot of free time nowadays with lille mand around but I think I could steal a few hrs to whip up something while he is sleeping. 

This time I thought I wanted to try something very simple. I have been wanting to do it for quite a while especially when I was in Denmark but unfortunately I could not find any Horlick! Nestum pun susah nak carik. I been to every supermarket possible near my place and yet I still could not find Horlick. So, now I am back in Malaysia, apa lagi buat la kek yg ingredient mmg susah nak carik kat saner. So..I was thinking Kek Lumut. I have been hearing friends and relative baking this cake. I never bake it nor have I eaten it. I only see it on someone else's picture. When I saw the recipe..I was thinking..this is a piece of cake. Hahaha...so, apa lagi..while the little man sleeping..I took all that I need and tadaaa...Kek Lumut. 


Lumut mean moss. Therefore, explained the name as you can see from the picture..It is green in colour. Since I do not have a steamer, I have to improvise by baking it inside an oven. What I always do is that I place a tray underneath the steel rack then fill it up with water. Cover the cake tray to retain the moist from the water, which evaporate inside the oven. So, you still can get like 90% similar texture with the one you steam in a steamer.

Do I like it?? Not bad. I don't think I need to put the recipe here as I believe almost everyone know how to do this. If not..can always fine kat google. Hehehe...

OK..next project...another local delicacies. Tungguu...

Monday, 31 March 2014

Strawberry Lemon Torte

I have been planning to do a torte for weeks but I keep forgetting to get the lemon. So, when I finally bought the lemon, I get straight to work. I need to make the base, the mousse (main filling) and the ladyfingers (but I am not baking the ladyfinger, instead, I used the ready made one since I have some in the pantry).

First thing first, we need to do the base, which is also the same batter with the ladyfingers (that is if you're making it by yourself). To make ladyfingers batter, you need eggs, flour, baking powder, butter, vanilla and white sugar. U need to separate the yolk and white. Then beat the egg white and add 1 tsbp of the sugar. Beat it until it is stiff and shiny.


 Then beat the egg yolk in a separate mixing bowl with the remaining sugar. When mixing is pale yellow, add the whipped egg white and stirred. 


Finally add the flour and vanilla & continue on mixing for a minute or two.


Fill a pastry bag with the mixture and pipe it using a plain tip in a circle motion by moving inward to fill the circle. Make sure you grease and flour the baking sheet just after you measure the diameter ok. Bake the base for 10-15 minute in a 200C temperature.  Or until just firm on the outside but soft in the centre. So, the base will look something like this..heheh...


Put it aside and let it cool off for a few minutes.

Ingredient for the base (if you are making your own ladyfinger, you need to double this measurement ok):
  • 1 tbsp butter for greasing
  • 1/2cup of flour + 1tbsp for greasing
  • 1 tbsp + 1/3 cup of sugar
  • 2 egg, separated
  • 1/4 tsp of baking powder
  • 1 tsp of vanilla
Now, it's time for the lemon mousse. We need to get the lemon zest first before we squeeze the juice. Normal measurement is 1tsp of lemon zest but I love the smell of lemon zest in my baking and I love the taste so I used a lot of it. For this mousse, I am using 1 whole lemon for the zest.

Then, get the juice. Add the lemon juice with 1/2 of the sugar & bring it to simmer.


In a separate mixing bowl, mix the egg yolks and the remaining sugar.

Mix until it is pale yellow..
I hope you keep an eye on your lemon syrup. Don't let it over boil yeah. Once it start to simmer, remove it from heat and pour into the egg mixture.

Continue on mixing the mixture for a few minutes then pour back the mixture into the pot, and heat it up until you see the first bubble start to appear. Don't forget to keep whisking it while heating.
Once the first bubble appear, remove from heat back to the mixing bowl. Whipped the mixture until cool. Then add the butter and lemon zest...
Mix it..
In another mixing bowl, whipped the cream until it is stiff and thick.
Then add the whipped cream into the egg & lemon syrup mixture in two batches..

Ingredient for lemon mousse;
  • 1/4 cup of lemon juice ( equivalent to 1 large lemon)
  • 1/2 cup of sugar
  • 2 large egg yolks
  • 1/4 cup of butter
  • 1 tsp of lemon zest or as much as you like
  • 3/4 cup of heavy cream
  • 1 cup of fresh strawberry
Next, we assemble the ladyfinger & the base. I am using a cake tray for this as I need something to support it. It look something like this..
If you want it to look perfect, you need to make sure the ladyfinger is the same height with the cake tray. But I do not want to cut too much so I just cut the bottom part of the ladyfinger just to give it stability. Next, pour half of the mousse batter and add some slices of strawberry.

Pour the other half of the mousse batter and even it up on top. 
Chill it over night. The longer the better actually. And it is ready to be serve.:)

Have fun trying!

Thursday, 13 March 2014

Very moist lemon pound cake

I have two lemons in the fridge & I do not want it to be wasted away so what else to do…let's bake a lemon cake! I love the sweet & sour taste of the cake and the smell of lemon baking in the oven. It is very aromatic! Furthermore, it is easy to bake..no hassle..no 'weird' ingredients so anyone can do it and it is very tasty!

First, prepare the lemon zest. Normally in any recipe, it used 1-2tsp of lemon zest but I normally will not follow. Hahha..I will use as much lemon zest as I like because it not only give you the lemony taste but lemony smell as well. For this cake today, I grated 2 lemon & used all the zest I have here…

Then the two lemon is slice & extract the juice. You will need it later.
Then in a mixing bowl, beat sugar, butter and oil together. 


When the mixture is pale yellow in color, add the egg one at a time. Next, add the flour….


 & milk….


 ….into the mixture alternatively (flour-milk-flour-milk-flour). Remember, start with adding the flour & ending with the flour. 
Then add the lemon juice that we extract just now into the mixture. And finally, we add in the lemon zest!

Mix all together and pour into a rectangular cake tray. I do not know why but whenever I bake lemon cake, I always use the rectangular tray…hehe


Bake the cake for 45 minutes to 1hour in a 170C temperature. Make sure the cake is well bake by inserting a toothpick or chopstick into the cake. If there is no residue on the stick, that mean the cake is bake!


You can either drizzle it with icing sugar or let it be plain like this. I prefer to eat it just as it is! Hubby said..it taste like what his grandma always did. Bangga2!!

Ingredients:

  • 1 cup of butter, soften
  • 1/4 cup of vegetable oil
  • 21/2 cup of sugar
  • 5 eggs 
  • 3 all purpose flour
  • 1 cup of milk
  • 3 tsp of lemon juice
  • 2 lemon (for lemon zest)
Here's my piece..opss..ada yang dah hilang …masuk dalam perut. huhuh…


Friday, 7 March 2014

Checkerboard cake

Last night I was watching Jr Masterchef on tv and because of that, I suddenly feel the urge to bake something for the weekend. Thinking cap is on! At first, I was thinking of baking a molten lava cake but I will prefer to eat a hot molten lava cake, and you can't really keep it overnight or for a few days. Molten lava cake is meant to be eaten instantly. Soo…what shall I bake???? Aha!! Checkerboard cake! I did bake this cake previously for my sister's birthday. At that time, I just received my checkerboard cake tray from my other sister in the US & am so excited to try it.

You can do checkerboard cake without the tray but it will mean, you end up wasting quite an amount of cake! I got my tray from Wilton. Yes.. they have so many type of baking tray & baking accessories. If I have the chance to visit them one day, I think I will feel like a child in a HUGE CANDY factory. 

Ok. Let us bake a cake! Take out a mixing bowl and add flour, salt, baking powder & baking soda together, and set aside.


In a measuring cup, mix the milk and vanilla extract.


In another mixing bowl, add sugar, eggs and vegetable oil (the oil is the one in the pink measuring cup). First, you need to mix the sugar & egg then you add the vegetable oil. 


Ok..by right you add one egg at a time but I want to save time so I just add all three eggs in the mixing bowl together with the sugar. Hehehhe..as usual, I used both the brown & white sugar.

Once the wet ingredients are already mix together, using a spatula, carefully mix the flour mixture into the wet mixture and alternating it with the milk mixture. You start with the flour and end with the flour. So, you get a brownish mixture like this…


FYI, if you are just using white sugar, obviously your mixture won't be brownish like this. It be more yellowish. Next, divide the mixture into two separate bowl. 

Then chopped some baking chocolate..


…and put it inside a microwave for 2 minutes. Add the melted chocolate and 1 tbsp of milk to one of the bowl with the cake mixture. And you get this….


Then, take out the checkerboard tray..and the white divider is the one that will create the checker effect when you cut it later on. Oh ya..FYI..the divider is not sticking with the tray ya..once you pour the mixture inside the tray, you remove it and use it on another tray.


OK. Here is the tricky part. In order to make thing easy for me, I place each of the mixture in a measuring cup or you can use a disposable piping bag. Or you can used a heavy duty zip tight plastic bag with corner cut to make 1/2 inch opening. Then pipe the mixture into the tray. For this, you really need to be good in estimating how much you need to pipe in each cake tray in order to make sure, you have enough cake batter. You do not need to pipe too much on each layer because the cake will rise up once it start baking in the oven. 

Difficult for me to explain the pattern but I guess by showing you this picture, you will have an idea which batter go where…

So, you much have two vanilla and one chocolate batter on the outer layer (you will place it in this sequence; vanilla outer layer at the bottom, chocolate outer layer in the middle and another vanilla outer layer at the top) 

PLaced all the baking tray inside the oven & bake for 20 minute in a 175C temperature. Once it bake, take out the cake and let it cool down for few minutes...


 ….before you start stacking it on top of each other. Cut of the top of each cake to make the cake look nice & even! I am using chocolate buttercream as both the filling & frosting. To make the this all you need is butter, cocoa powder, icing sugar, vanilla extract and milk or heavy cream. 

Here it is….

And when you cut it…

Ok..I haven't master the skill to make the square nice and even..yet... but this will do for now..hehehe..And apparently this recipe is more moist and soft than the previous one I made. I believe it's because of the vegetable oil :)

Cake ingredients;
  • 21/4 cup of flour
  • 2 tsp baking power
  • 1 tsp baking soda
  • 1/2 tsp salt
  • 3/4 cup of milk (for the cake)
  • 1 tbsp of milk (add with the melting chocolate)
  • 11/2 tsp of vanilla extract
  • 11/2 cup of sugar
  • 11/2 stick of butter, soften (1stick of butter=125 gm) If you using vegetable oil, you just need 1 cup of oil. 
  • 3 large eggs
  • 3 ounce of dark chocolate (1 ounce = 28gm)
Chocolate buttercream:
  • 2 cup of icing sugar
  • 1 cup of butter
  • 1/2 cup of cocoa powder
  • 2 tsp of vanilla extract
  • 4 tbsp of milk/heavy cream